Intermediate Course Section 3
Welcome to the Website World Intermediate Course Section 3. This section is focused on using the included Bulk Emailer in the CMS. In our CMS, subscribers of your email mailing list are called members. Members can be in either ,or in both, your bulk email list or in the membership area on your website. Members can be those who have signed up to your newsletter, paid for a subscription, purchased from your website, or manually added by you. This section will focus solely on the Bulk Emailer area, with another section dedicated to the Members area in the CMS. However, some parts will cross over for both.
By the end of this section, you will learn:
- how to create groups to organise your members
- how to add new subscribers/members to your email list manually
- how to bulk add members to a member email list
- the rules and regulations of sending emails and collecting email addresses
- how to add a newsletter sign up page with form on your website
- how to create an email template
Creating Member Groups for Emailing
A member group for emailing is like a file containing the contact details of a specific group. You create a group and then add members to it depending on specific characteristics. For example, you may have a member group for people who have signed up to your newsletter directly from your website. Or you could have a member group of people who have purchased a specific product, or of people who are of a specific age group.
You can add a new member group at anytime. Today we're adding two new groups before importing any membership details.
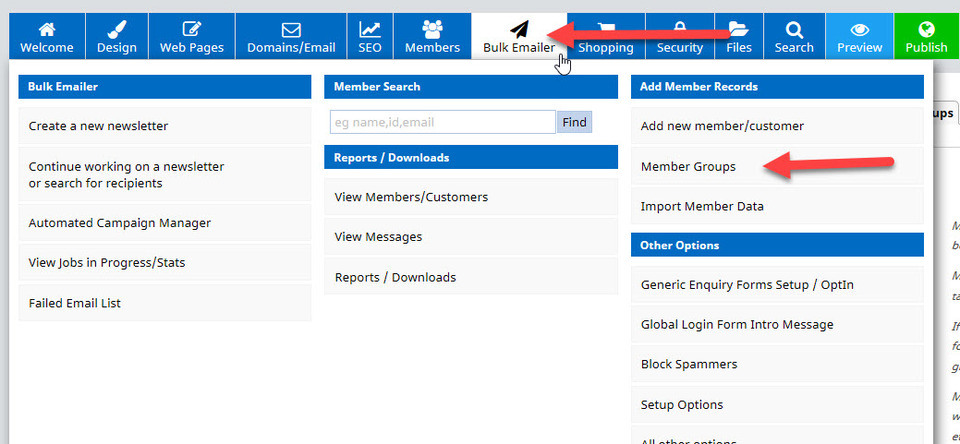
To add a new group, in the Bulk Emailer area, select the menu option Member Groups.
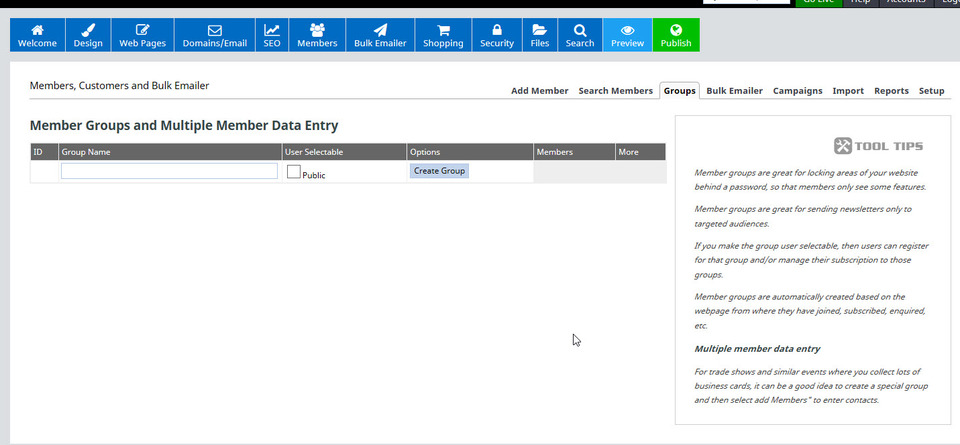
A page then opens which creates generic member groups. You will need to give the group a name you understand, and decide whether or not to allow people to register for that group, or manage their subscription to that group. This is done using the tick box User Selectable (tick if you will allow, or leave empty to refuse to allow). Then click the Create Group button to add the new group.
In this example, we are calling the first member group Existing Email List and we did not allow User Selectable as an option. You will now see that we have this new member group listed on the same page, along with options to manage and add/edit members, as well as export CSV information if required. It also lists how many members we have in the group too.
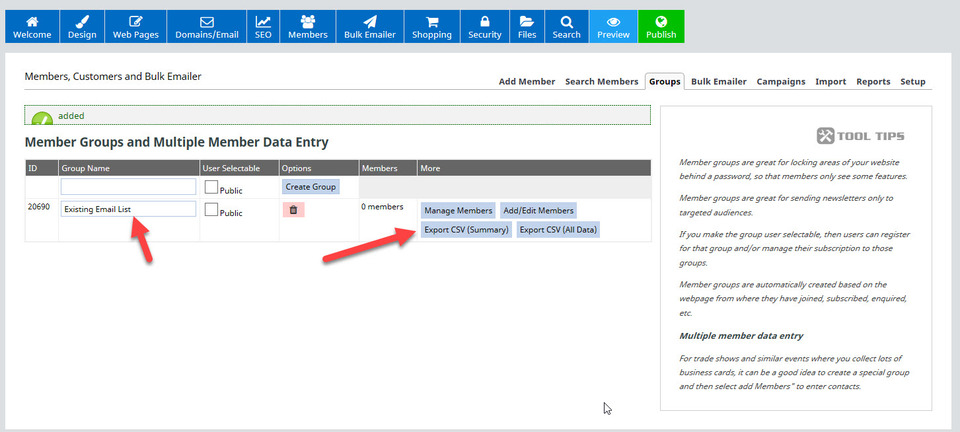
We added a second member group called Adult T-Shirt Buyer Emails also, which we will use at a later date.
Adding New Members to Your Email Group Manually
When you only have a few new members to add to a group, you may wish to manually add these yourself.
This is done via the Add new member/customer option on the Bulk Emailer menu as below (or via the Import tab in the Bulk Emailer).

This option allows you to enter additional details about a member and is the method we recommend using for manually adding members to an email list.

After you have added all of the details manually, be sure to select a group for them to go into and click the button Add New Member. Added members will be visible via the Search Members tab, and membership numbers per group can be seen on the Groups tab.
Adding Pre-Existing Members in Bulk from an Existing Email List
- bulk import a list of email addresses: the CMS will use the prefix of each email address for each person's name
- import from a CSV file, including name, email and other details
A CSV file is a comma separated values file. It will have the file extension .csv at the end of it and is often an Excel file.
You will choose your option under the Import tab:
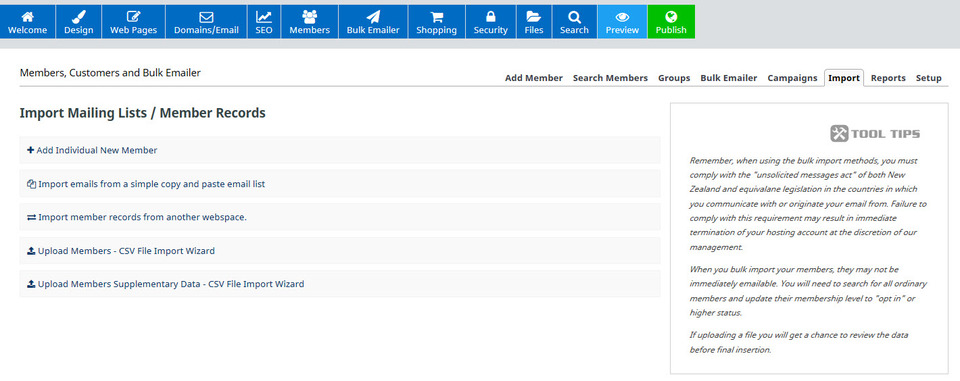
Follow the instructions on the option of your choice to complete the bulk import.
Important Information About Collecting & Using Email Addresses
You need to know, understand and follow the rules and regulations regarding the collection and usage of email addresses and other personal details!
We strongly recommend that you read the information found here on the usage of personal details and complying with the GDPR to avoid prosecution and being banned from using any or all of our services.
Adding a Sign Up Form on Your Website
A sign up form lets you gather the contact details from visitors to your website. Usually this is their name and email address, but you can specify the information you would like to collect. There are two options for setting this up:
- Add a subscription form page
- Add a pop up box
Our preferred option is to add a subscription form page. This is because many website users view pops ups as annoying and this can cause them to click the back button to leave the site. Search engines are also currently viewing some pop ups as negative features, and may be ranking websites which use them lower in their search results.
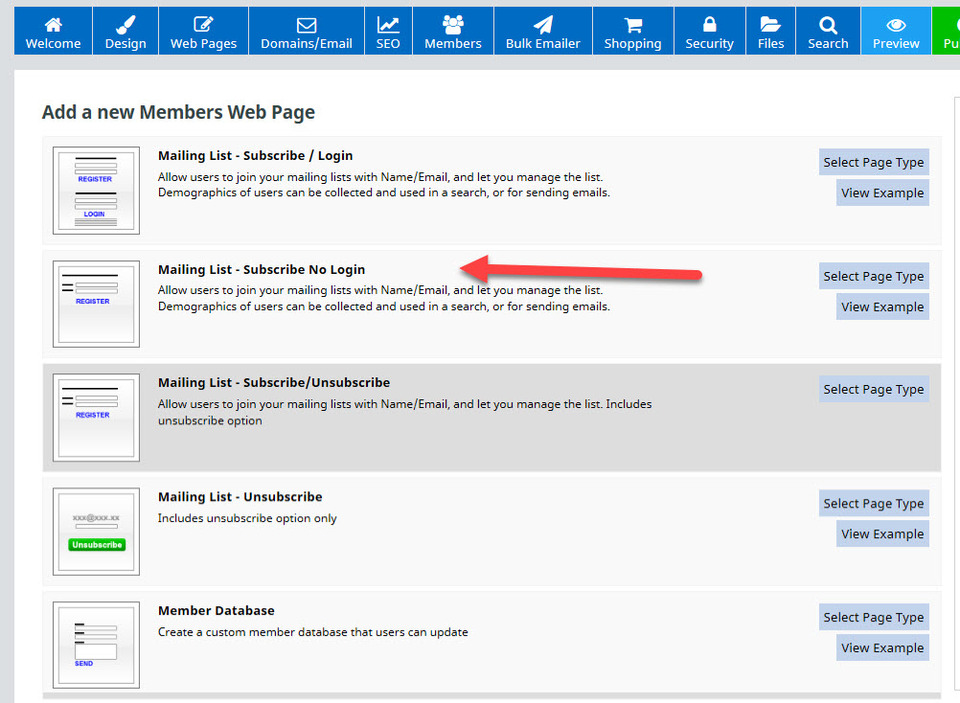
To add a subscription form page, head to Web Pages - Add Page - Subscription Forms. This options a page with options. In this example, we're selecting the option Mailing List - Subscribe No Login.
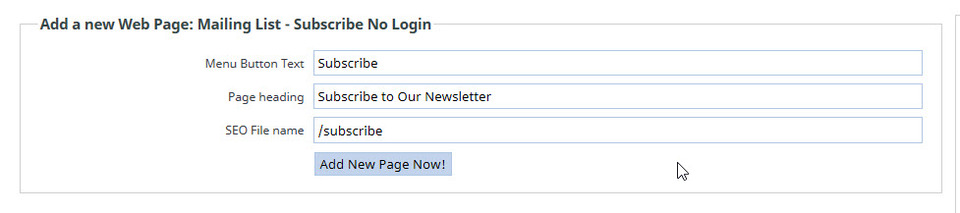
Like with other new pages, you need to enter text into the boxes for Menu Button, Page Heading and SEO File Name, and then click the Add New Page Now button.
You will then have a page appear which lets you set different options for your newsletters.
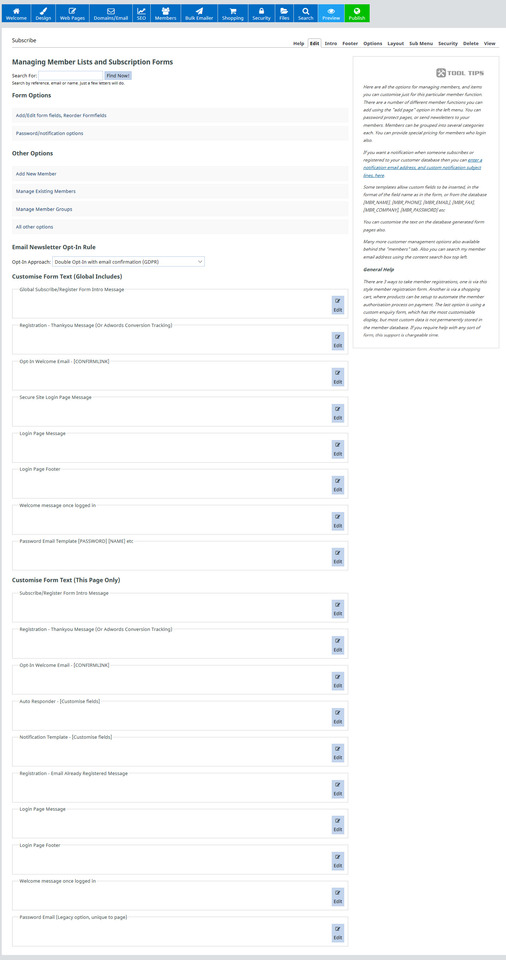
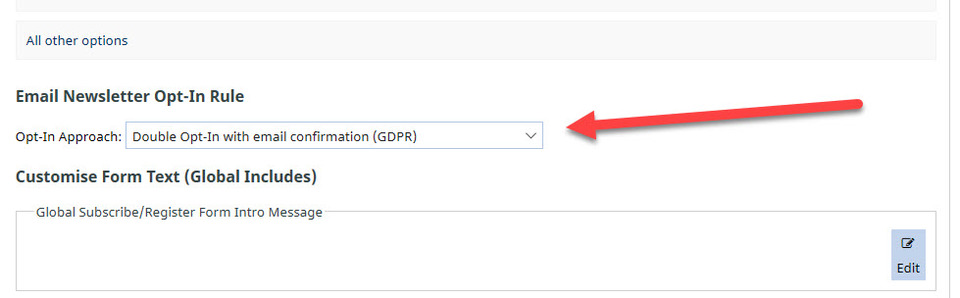
At the moment, we're just going to concentrate upon one thing: ensuring you comply with the GDPR. This is done by selecting the Email Newsletter Opt-In Rule of Double Opt-In with email confirmation (GDPR) in the drop down box.
Move your subscription page using the Reorder Pages option to where you would like it displayed in your menu, and press Publish.
Creating An Email Template for One-Off Newsletter or Bulk Email
In the CMS, you have a few options when you are sending out a one-off bulk email/newsletter.
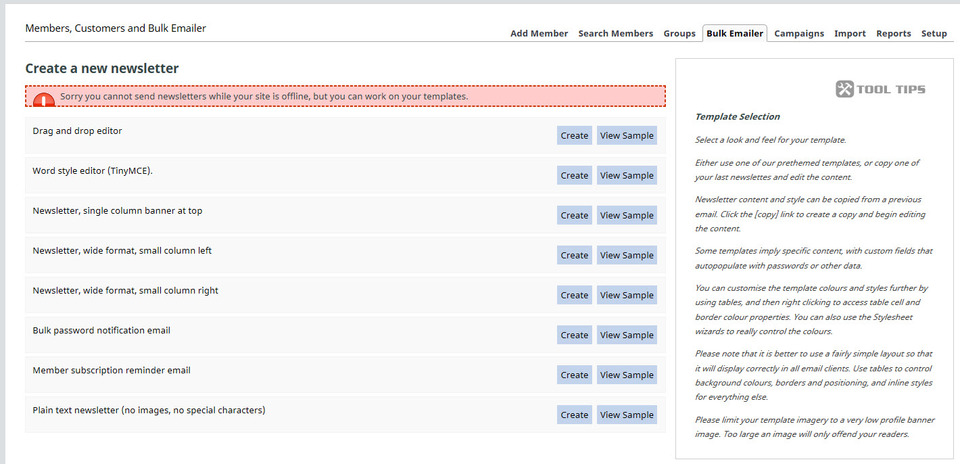
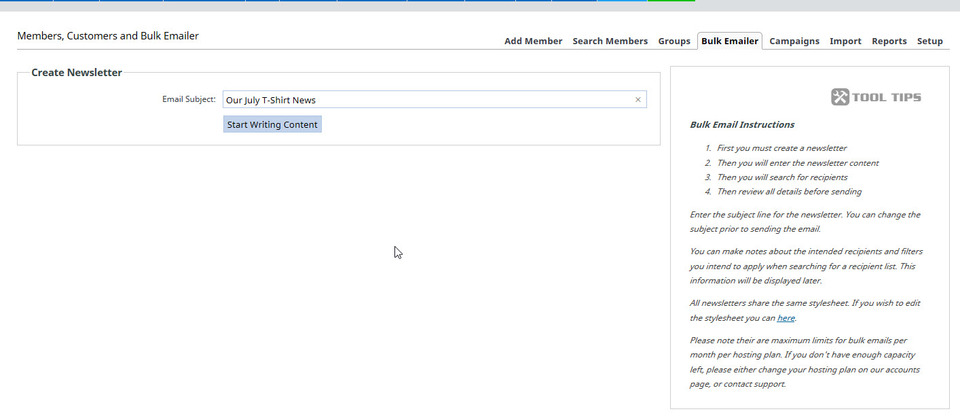
In this example, we will be using the Drag and Drop Editor. Click on Create to get started, and you will need to add an Email Subject line, then click Start Writing Content.
You'll then have a default template displayed. This email template uses exactly the same editor you've used when designing a web page. You can add, remove and edit any part of it.
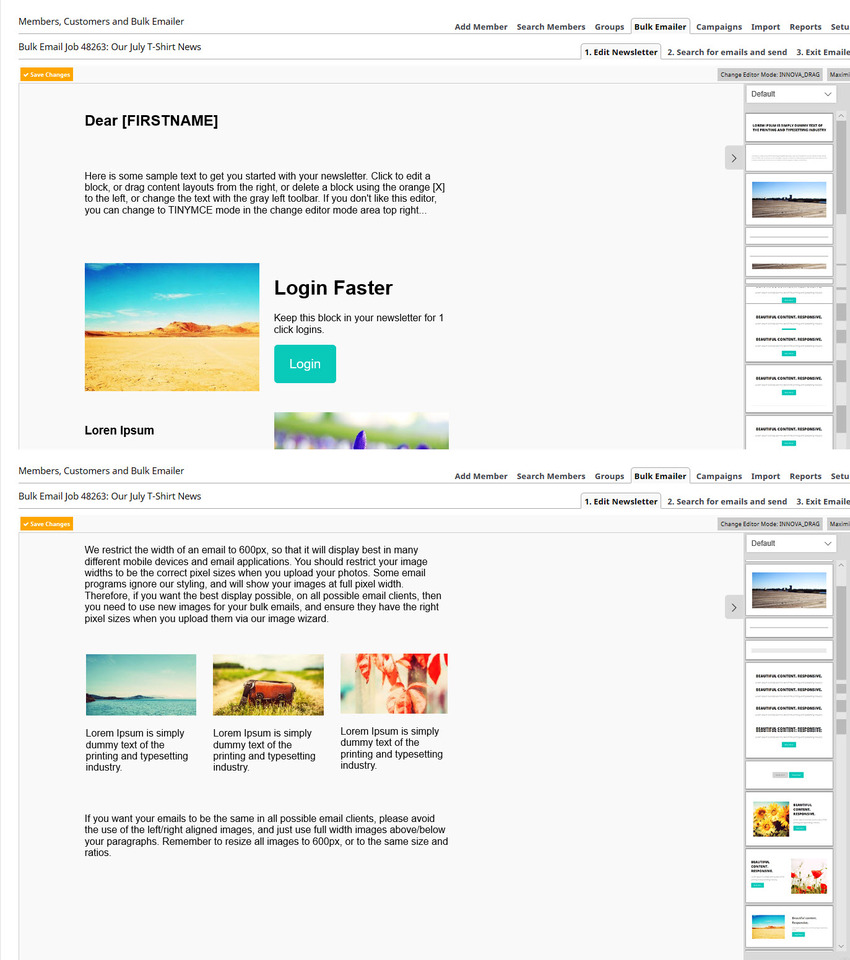
Here is a video of how we've edited our template:
Now we have an email template, we can edit it as we would a web page. Click in each text box to edit the text, and to replace the image, click upon the icon in the centre of the image when hovering.
When heading to the menu tab Bulk Emailer, you will now see:
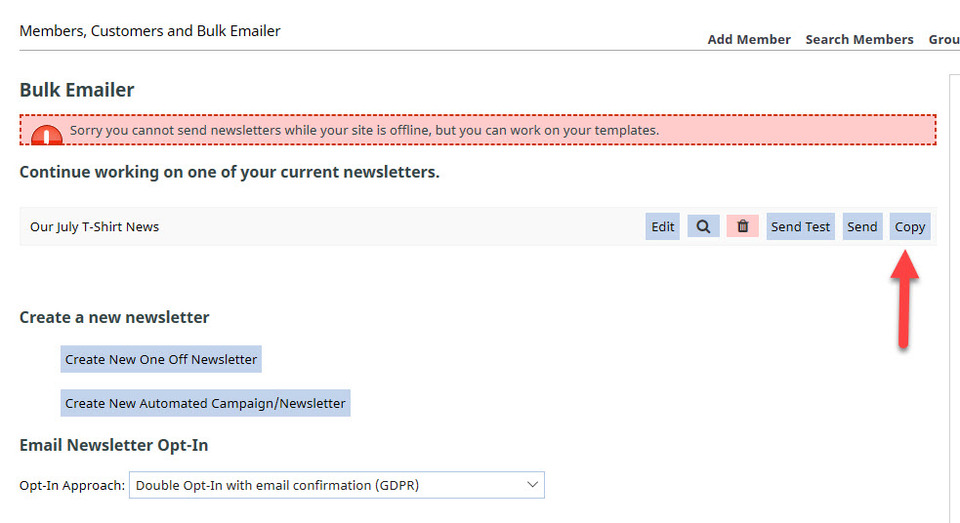
You have the option to create a copy of the template you've just made, or creating a new one-off template again, using the same steps we used above. To make a copy of the template, simply select Copy, and then give the copied template a new email subject name, and click Start Writing Content.
Congratulations - you have completed Section 3 of the Intermediate level course.