You can use the cropping engine when uploading or editing an image to permanently crop the image to a fixed height and width
Using the crop engine to crop images to a fixed height and width
- You can use set your Resize Dimensions to set the required height and width then check the Crop to exact resize dimensions checkbox to fix the crop area.
- Drag the crop area to the required area on the image and save.
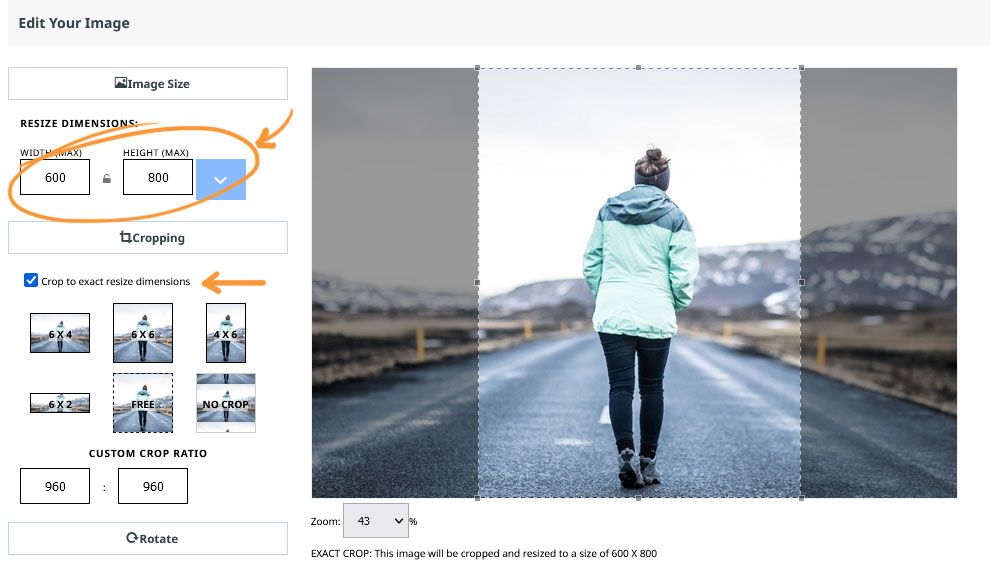
This image will be cropped to exactly 600px wide, by 800px high. You can drag the crop area around and use the corner handles to change the area. The aspect ratio will remain the same.
Using the crop engine to set a max-height and width for an image, then using the aspect ratio to crop the image to a fixed shape.
- You can use set your Resize Dimensions to the max-height and max-width you would like the image to be
- Leave the Crop to exact resize dimensions checkbox unchecked
- Use the Image Aspect Ration presets, or your own custom value to get the crop shape you require
- Drag the crop area to the required area on the image and save
- The image will be resized to within the height and width settings chosen
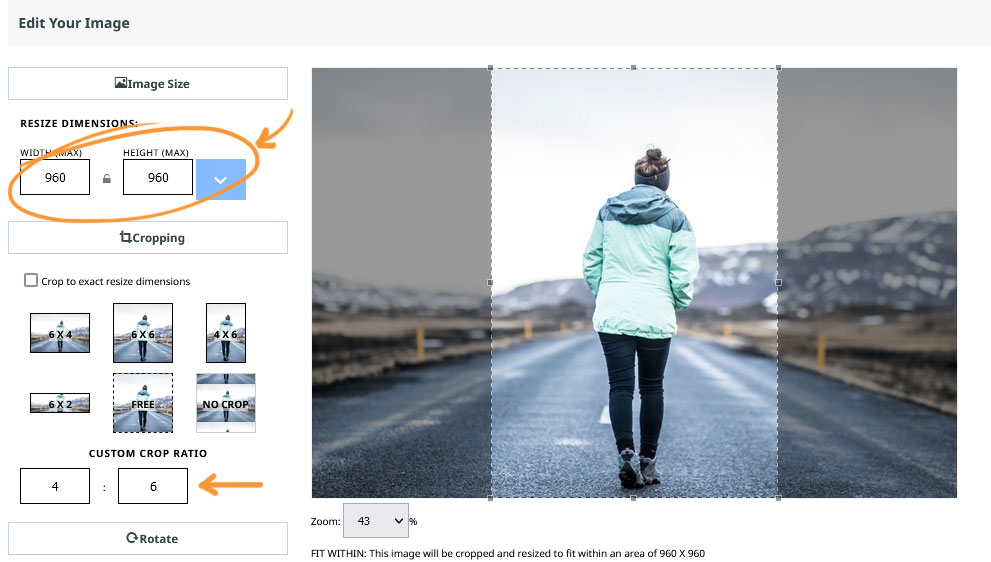
This image will be cropped within 960px wide, by 960px high. You can drag the crop area around and use the corner handles to change the area. The aspect ratio will remain at 4 / 6 at all times.
Additional Options
Use a page layout the shows Square thumbs in its thumbnail view
Change the page layout to an option that generates square thumbs automatically (you will not be able to choose the crop area).
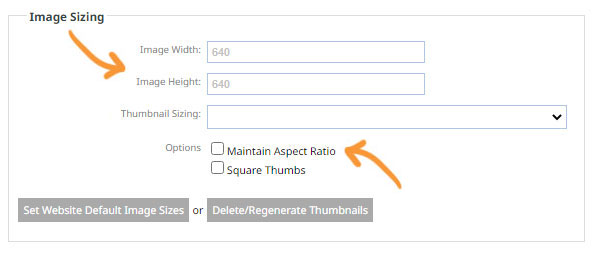
Use the page options to set a height / width for images with maintain aspect ratio checked
Change the page options to an option that generates square thumbs automatically (you will not be able to choose the crop area).
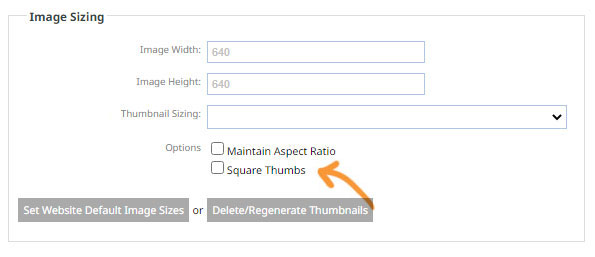
Use the page options Square thumbs option to generate square thumbnails regardless of image size
Change the page options to an option that generates square thumbs automatically (you will not be able to choose the crop area).
More From This Section
FAQ Topics
Building your site
Advanced Page Types
E-Commerce
- Shopping Basics
- Product Pricing, Currencies
- Category Management
- Products
- Product Options
- Layout and Formatting
- Payment Options
- Freight - Couriers
- Processing Orders
- Orders / Invoices
- Advanced Ecommerce
- Plugins
- Wholesale
- Bookings Management System
- Stock & Quantities
- Vouchers, Discounts, Loyalty Points
- Selling Photos / Prints
- Shopping Cart Add-on Page types
- Advanced APIs / Add ons
- Point of Sale (POS)
- Reports
Email & Membership
Promoting your site
Advanced
- Power User Options
- Form Spam Filtering
- Wordpress
- PHP Setup
- [TAGS]
- jQuery snippets
- Search External Links / Import external content
- HTML / CSS Snippets
- Embedding Web Fonts
- Loading additional Material Symbols styles
- FAQ Help Map
- Uploading local font files
- Advanced Template Customisation, CSS, etc
- Languages and Translations
- Importing Content from Another Platform